Lets get OpenHAB Running!
Now we’re out of the woods as it were with the hardware and interfaces, we need to get something to tie everything together. I’m using OpenHAB at the centre of my install. I’ll try and outline the setup below:
Prerequisites
OpenHAB is platform agnostic running ontop of JAVA, at the moment the rerecorded Java Virtual Machine is Oracle Java 8.
Unfortunately while Jessie ships with Oracle JDK, it’s not up to date, and installing it can be a royal pain in the posterior. To this end, I’m going to just grab the binary and install it.
Before we do however, lets get some other useful tools.
|
1 |
sudo apt-get install software-properties-common python-software-properties |
Now that’s done, grab the latest java ARM 32 hard float tar.gz from here, and copy it to /tmp on the Pi.
http://www.oracle.com/technetwork/java/javase/downloads/jdk8-downloads-2133151.html
Note: This next step will allow you to download it straight to the Pi, but I’ve no idea who’s ftp this is! – So I don’t trust it. Right now I’m just using it as a quick way to demo given I can’t wget from Oracle!! A better way would be to host it yourself, or scp it.
|
1 2 |
cd /tmp/ wget http://ftp.osuosl.org/pub/funtoo/distfiles/oracle-java/jdk-8u121-linux-arm32-vfp-hflt.tar.gz |
Extract the new JavaSDK to /opt
|
1 |
sudo tar zxvf jdk-8u121-linux-arm32-vfp-hflt.tar.gz -C /opt |
Set default java and javac to the new installed jdk8.
|
1 2 3 4 5 |
sudo update-alternatives --install /usr/bin/javac javac /opt/jdk1.8.0_121/bin/javac 1 sudo update-alternatives --install /usr/bin/java java /opt/jdk1.8.0_121/bin/java 1 sudo update-alternatives --config javac sudo update-alternatives --config java |
After all, verify with the commands with -verion option.
|
1 2 |
$ java -version $ javac -version |
Download and Install OpenHAB
We’re going to use the snapshot builds, as there’s generally more features, and is a good way to know exactly what we’ll be getting. Lets follow: (http://docs.openhab.org/installation/linux.html#manual-installation)
First create a user and then as some of our devices are local on GPIO we also need to add the user to the gpio group we created earlier.
|
1 2 |
sudo adduser --system --no-create-home --group --disabled-login openhab sudo usermod -a -G gpio openhab |
Copy the link to the tar.gz here: https://openhab.ci.cloudbees.com/job/openHAB-Distribution/lastSuccessfulBuild/artifact/distributions/openhab/target/ and use it for the wget request below!
|
1 2 3 4 |
cd /tmp/ wget https://openhab.ci.cloudbees.com/job/openHAB-Distribution/lastSuccessfulBuild/artifact/distributions/openhab/target/openhab-2.1.0-SNAPSHOT.tar.gz mkdir /opt/openhab2 sudo tar zxvf /tmp/openhab-2.1.0-SNAPSHOT.tar.gz -C /opt/openhab2 |
The extracted openHAB files should belong to the earlier created openhab user. Execute:
|
1 |
sudo chown -hR <span class="hljs-string">openhab:</span>openhab <span class="hljs-regexp">/opt/</span>openhab2 |
You should now be able to start open hab and try it out!
|
1 |
/opt/openhab2/start.sh |
Then in a web browser of choice try: http://[ipAddressOfYourPi]:8080/
You ‘should’ be presented with the following page:
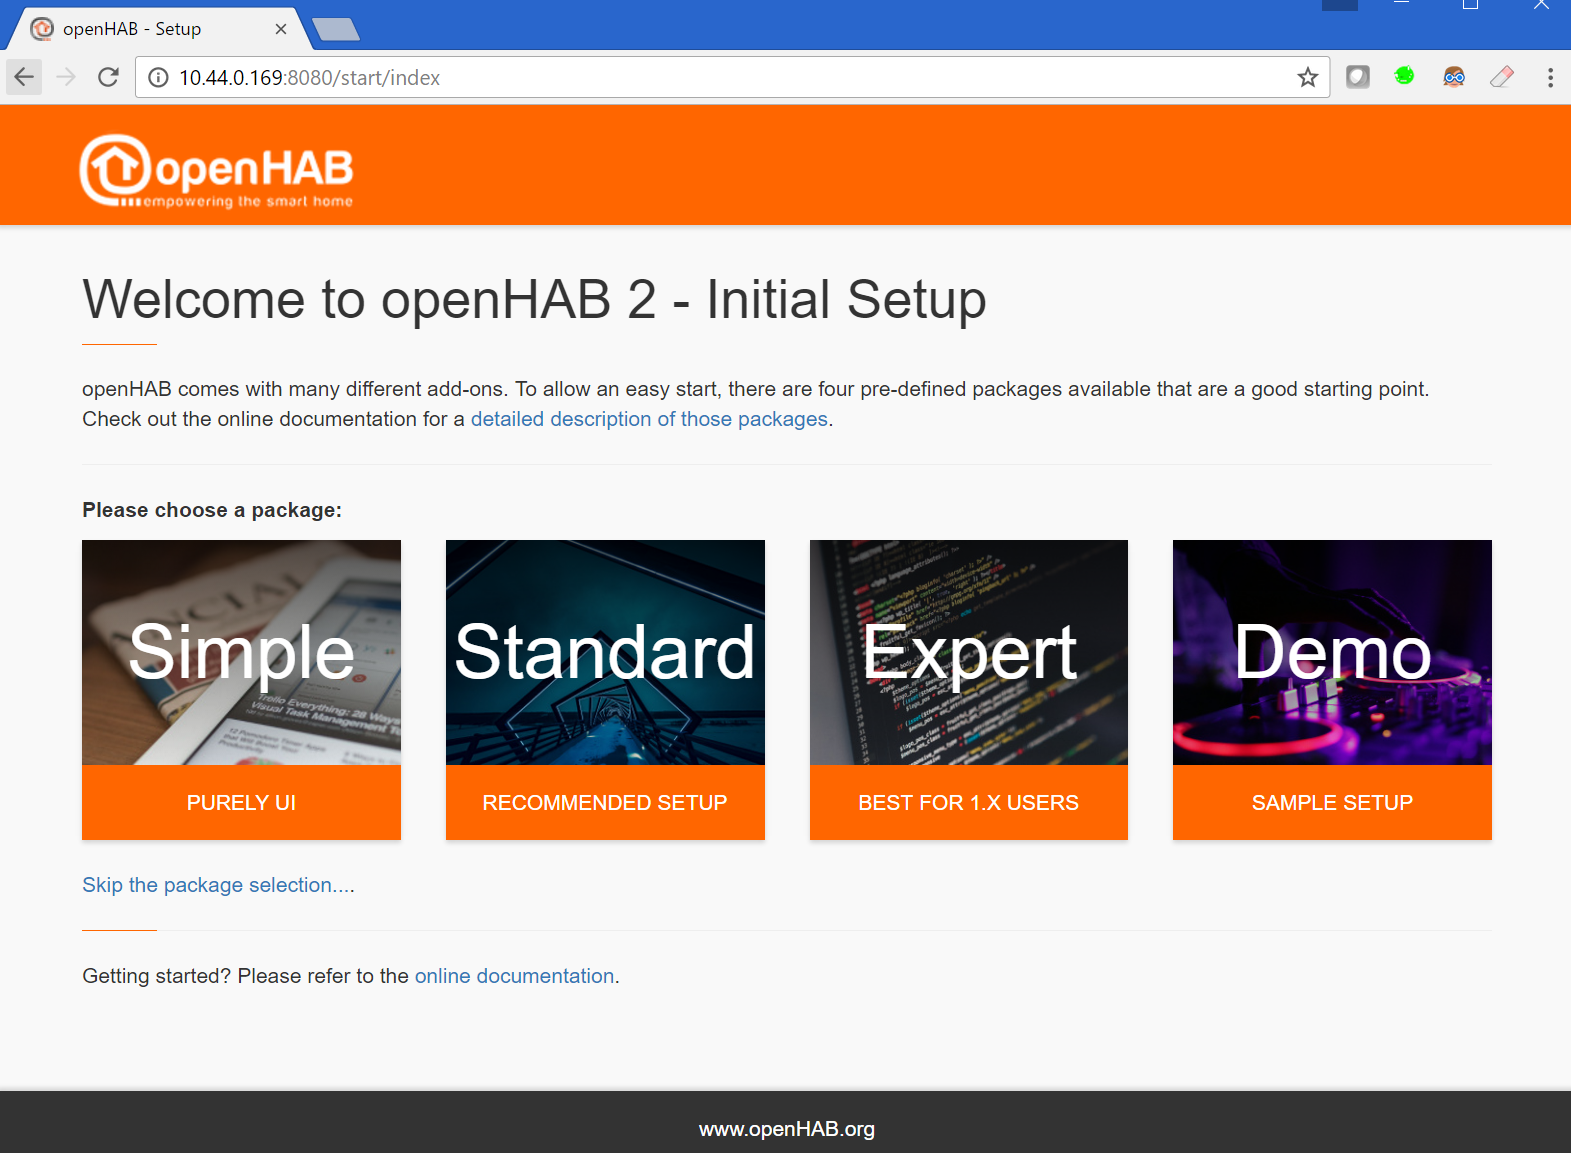
From here on in, I’m going to assume that you’ve